1. Foundation Inspection: Check the flatness, hardness, and presence of sand on the foundation, and develop a suitable construction strategy based on the foundation conditions.
2. Foundation Cleaning: Use a fine broom or an industrial vacuum cleaner to remove surface dust, and remove any lumps of dirt on the surface. If the corner is not level, it needs to be ground.
3. Self-leveling Concrete Construction: First, roll the interface agent, use the appropriate interface agent based on the foundation conditions, dilute it according to the proportion, and use a wool roller to brush horizontally and vertically two to three times. Wait until the surface water is absorbed and evaporated before starting the self-leveling concrete construction. Pour the mixed self-leveling concrete evenly on the ground, and use the special self-leveling rake (also called the self-leveling rake, with a rake tooth of no less than 5 mm) to evenly spread the self-leveling concrete. At the same time, use the self-leveling foam roller to roll and press.
4. Grinding and Cleaning Self-leveling Concrete: After the self-leveling concrete is dry, grind the self-leveling concrete surface. The grinding wheel of the grinding machine needs to use fine sandpaper. Grind off the surface dust, and a good self-leveling concrete will shine after grinding.
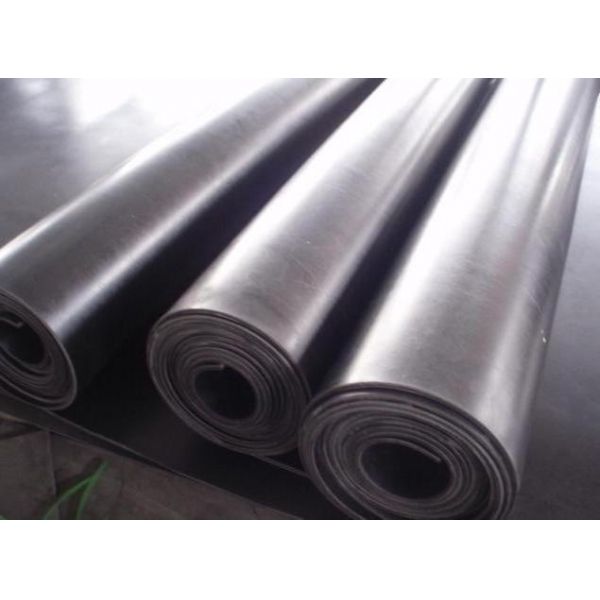
5. Cutting Rubber Roll Flooring: According to the construction drawings, combined with the on-site dimensions, the sheet flooring is cut, the length of which needs to be 2 cm longer to avoid the material being too short due to an uneven top. The pre-laid sheet flooring is laid out in the corresponding area, with an overlap of 2 cm. If the construction area is small, a special fish-shaped hook knife can be used for trimming the edges. At this time, it is not necessary to hurry the subsequent procedures. Wait for the sheet flooring to be placed for 24 hours before proceeding with the seamless cutting.
6. Rubber floor cutting; Seamless cutting is a technical skill that requires experienced master craftsmen to do it. A special seamless push knife or seamless track is used for cutting. The cutting knife needs to be placed in the middle of the overlap of each floor tile. The technique and force need to be even.
7. Spreading glue; Use a special spreading board to evenly apply glue. According to the thickness of the floor, different rake teeth are used. A2 rake teeth are used for 2 mm sheet flooring. The rake teeth need to be replaced frequently.
8. Adhesion; Wait for the glue to cool to a certain degree before laying it out (the cooling time of the glue varies depending on the on-site environment. Most use the method of collecting the palm to distinguish whether it can be installed. When the hand touches the glue lightly, it has adhesion but does not stick to the hand, it can be installed). Two people need to lay it out one by one, and the joints need to be tightly fitted.
9. Rolling; Using a 50kg heavy iron roller with no gaps, the rolling must be done thoroughly, and hand-held rollers should be used to roll the seams and corners. Corners that are not properly trimmed should be addressed, and the site should be cleaned of debris.

